
To make a DIY sound damping headboard, start with a sturdy frame like wood, then add soundproofing materials such as mineral wool or dense foam behind acoustic panels for noise absorption. Cover everything with a breathable fabric to enhance the look and durability. Mount the headboard securely behind your bed to reduce echoes and noise. If you want step-by-step guidance on designing and assembling your own quiet retreat, keep exploring for more detailed tips.
Key Takeaways
- Choose a suitable size and shape for the headboard, considering your bedroom space and design preferences.
- Incorporate soundproofing materials like mineral wool, dense foam, or acoustic panels into the frame for effective noise reduction.
- Build a sturdy wooden frame and securely attach soundproofing layers to prevent sagging and ensure durability.
- Cover the assembled headboard with breathable fabric or upholstery to improve aesthetics and protect soundproofing elements.
- Mount the finished headboard securely behind the bed, ensuring stability and maximum noise dampening benefits.
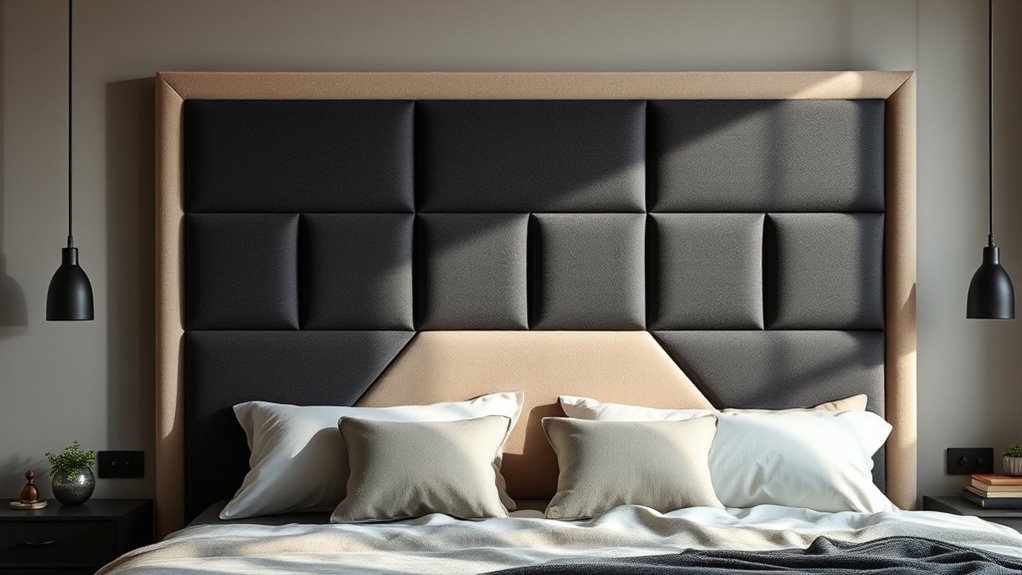
Are you tired of noise disrupting your sleep or relaxing space? If so, creating a DIY sound damping headboard can be a game-changer. Not only does it serve as a stylish focal point in your bedroom, but it also helps absorb sound, making your environment quieter and more peaceful. The key is to use effective soundproofing materials and acoustic panels that can markedly reduce noise transfer. With a few simple tools and supplies, you can construct a headboard that enhances both your decor and your comfort.
Start by selecting the right soundproofing materials. Mass-loaded vinyl, dense foam, or mineral wool insulation are excellent choices for blocking sound. These materials are designed to absorb and dampen noise vibrations, preventing sound from traveling through walls or bouncing around your room. Once you have your soundproofing materials, plan the size and shape of your headboard to fit your bed and space. You can opt for a simple rectangular design or get creative with curves and angles, depending on your style.
Choose soundproofing materials like mineral wool or dense foam to dampen noise effectively.
Next, incorporate acoustic panels into your headboard design. Acoustic panels are lightweight, easy to install, and highly effective at absorbing sound. You can cover parts of the headboard with decorative fabric wraps or panels to match your room’s aesthetic. Attaching acoustic panels directly onto the frame or surface of the headboard allows you to create a sound-absorbing barrier right behind your head. This setup helps dampen both external noise and echoes within your room, making it a more restful space. Using soundproofing techniques can further enhance noise reduction in your environment.
Assemble the headboard using a sturdy frame—wood is a popular choice because it’s easy to work with and durable. Attach your soundproofing materials to the frame securely, ensuring they don’t sag or shift over time. Then, affix the acoustic panels on top of the soundproofing layer, either with adhesive or staples, depending on your materials. Cover the entire headboard with a fabric or upholstery of your choice to add a polished look and protect the soundproofing elements. Make sure the fabric is tightly secured and breathable, so it doesn’t trap heat or moisture.
Finally, mount your finished headboard behind your bed, ensuring it’s securely anchored to the wall or bed frame. When you lie back against it, you’ll notice a appreciable reduction in noise and echoes, allowing you to enjoy quieter nights and calmer mornings. This DIY project not only improves your sleep quality but also adds a personalized touch to your bedroom decor. With some patience and creativity, you can craft an effective sound damping headboard that transforms your space into a peaceful retreat.
Frequently Asked Questions
What Materials Are Best for Sound Absorption?
You should choose acoustic materials like foam panels or mineral wool for maximum sound absorption. Soundproof fabrics, such as thick upholstery or heavy drapes, help block noise and improve damping. Combine these with soft, porous materials that absorb sound waves instead of reflecting them. Using a mix of acoustic materials and soundproof fabrics ensures your headboard effectively reduces noise, creating a quieter, more peaceful space.
How Much Noise Reduction Can I Expect?
You can expect a noticeable noise reduction, often around 20-30 decibels, with a well-designed soundproofing headboard. Don’t fall for soundproofing myths—effective acoustic treatments like dense materials and strategic placement make a difference. Your DIY approach can considerably dampen noise, especially if you combine materials like mass-loaded vinyl or acoustic foam. While it won’t eliminate all sound, it will create a quieter, more peaceful space.
Can I Customize the Headboard Design Easily?
Did you know that personalized headboards can boost your bedroom’s style by up to 60%? You’ll love how easily you can customize your DIY sound damping headboard to match your headboard aesthetics. Whether you prefer fabric, wood, or paint, you can add your unique touch without hassle. With simple tools and creative ideas, you’ll craft a headboard that’s both functional and stylish, perfectly tailored to your taste.
Is Special Equipment Needed to Assemble It?
You don’t need special equipment to assemble your soundproof headboard. Simply gather basic tools like a screwdriver, hammer, and measuring tape. To enhance soundproofing, you can attach acoustic panels or hang soundproof curtains behind or around the headboard. These materials are easy to install with common tools, making your project accessible and straightforward. Just follow your design plan, and you’ll have a sound-dampening headboard in no time.
How Do I Maintain the Soundproofing Over Time?
To maintain your soundproofing, regularly inspect your headboard for wear or damage, and replace or reinforce any compromised materials. Keep it clean and dust-free to preserve its effectiveness, and avoid heavy impacts that could weaken its structure. Properly secured, your headboard’s durability ensures consistent soundproofing, so check fastenings periodically. This simple maintenance helps sustain both soundproofing quality and the overall durability of your DIY headboard over time.
Conclusion
Now that you’ve built your DIY sound damping headboard, you’ve created a peaceful retreat that muffles noise like a gentle hush in a busy world. It’s more than just a headboard — it’s your personal sanctuary where tranquility reigns. With your hands and a little effort, you’ve turned a simple project into a fortress of calm. So, enjoy every peaceful night, knowing you crafted your own haven of silence — a true demonstration of your ingenuity.