To calibrate your non-wearable tracker for accuracy, start by resetting it to factory settings to clear any errors. Make certain the device is fully charged and follow the manufacturer’s instructions for calibration, such as performing a standardized activity or manually adjusting settings. Confirm proper sensor placement and input correct personal data like height and weight. Regularly verify accuracy using known benchmarks, and perform maintenance to keep your device reliable. Keep exploring to learn more detailed steps and tips.
Key Takeaways
- Reset the device to clear previous settings and prevent sensor drift before calibration.
- Gather all necessary tools, review the user manual, and ensure proper sensor placement.
- Input accurate personal parameters like height and weight, and set activity levels reflecting your routine.
- Perform a standardized test activity in a controlled environment to calibrate sensor sensitivity accurately.
- Regularly verify calibration, re-calibrate when needed, and maintain proper sensor placement for sustained accuracy.
Understanding the Importance of Calibration

Calibration is essential because it guarantees that your non-wearable tracker provides accurate and reliable data. Proper sensor placement is crucial, as even slight misalignments can cause discrepancies in readings. Ensuring the sensor is correctly positioned on or near the target area helps maintain measurement consistency. Additionally, understanding calibration frequency is vital; regular calibration ensures your device adapts to environmental changes or sensor drift over time. Proper calibration also helps to prevent measurement inaccuracies that could compromise your data quality. Without proper calibration, you risk inaccurate data, which can lead to incorrect conclusions or decisions. By paying attention to sensor placement and sticking to a recommended calibration schedule, you keep your tracker functioning optimally. This proactive approach ensures the data you collect remains trustworthy and precise for effective analysis. Incorporating energy-efficient hardware aligned with European standards can further enhance device sustainability and performance. Regularly checking for sensor drift and recalibrating as needed helps maintain measurement accuracy over the tracker’s lifespan. Additionally, understanding sensor sensitivity can improve calibration effectiveness, leading to more consistent and accurate results.
Gathering Necessary Tools and Information
Before starting the calibration process, gather all the necessary tools and information to guarantee a smooth and accurate setup. First, ensure you have the device’s user manual, which provides vital details on sensor placement and calibration steps. Check the tracker’s battery life to confirm it’s fully charged, preventing interruptions during calibration. You’ll need any required calibration tools or accessories specified by the manufacturer, such as mounting brackets or calibration targets. Proper sensor placement is essential; review guidelines to position sensors correctly for accurate readings. Additionally, gather any environmental tools needed, like a stable surface or specific lighting conditions. Recognizing patterns in numbers can help you identify key moments during calibration that may require special attention. Ensuring a calibration environment with controlled lighting and minimal vibrations will improve accuracy. Maintaining an awareness of sensor calibration techniques can further enhance the reliability of your device. Being familiar with home energy strategies, such as avoiding interference from household devices, can also contribute to more precise calibration results. Having everything ready minimizes delays and ensures your device calibrates properly, giving you reliable, accurate data once the process is complete.
Reviewing Your Device’s User Manual

Your device’s user manual is an essential resource that provides specific instructions and important details needed for a successful calibration. It helps you understand device compatibility, guaranteeing your tracker works with your smartphone or computer. The manual outlines step-by-step procedures tailored to your model, preventing errors during calibration. It also offers troubleshooting tips, guiding you through common issues like connectivity problems or inaccurate readings. By reviewing these instructions, you reduce the risk of damaging your device or misaligning sensors. Pay close attention to any calibration-specific sections and warnings. Familiarizing yourself with the manual saves time and guarantees you follow the manufacturer’s recommended practices, ultimately improving your device’s accuracy and longevity. Additionally, understanding device calibration processes can help you optimize performance and extend the lifespan of your tracker. Being aware of water efficiency features in your device can further enhance its effectiveness and conserve resources. Awareness of market trends and how they influence device updates can also help you stay current with new features and improvements. Staying informed about device updates ensures you can incorporate the latest functionalities and maintain optimal accuracy. Don’t skip this vital step before proceeding further.
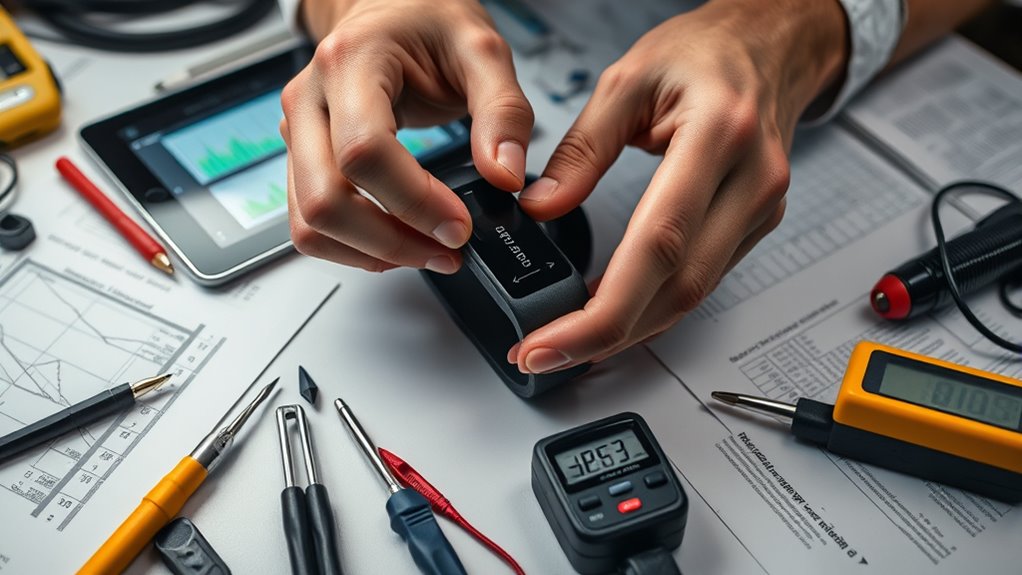
Performing a Basic Functional Check

Performing a basic functional check is a crucial step to guarantee your tracker is operating correctly before proceeding with calibration. Start by turning on the device and verifying that the display responds properly. Check that all buttons or touch features work smoothly, ensuring you can navigate through the fitness tracking interface easily. Confirm that the device accurately records basic actions, like steps or distance, during a test walk or run. Good device maintenance includes inspecting sensors and connectors for dirt or damage, which can affect accuracy. Make sure the tracker syncs properly with your app or computer, and that data uploads correctly. This initial check helps identify any obvious issues, so you avoid calibrating a malfunctioning device and ensure your fitness tracking remains reliable. Additionally, sensor health is essential for maintaining accuracy, so regularly inspecting sensors can help prevent errors. Monitoring market trends in sensor technology is also beneficial for understanding potential improvements and updates. Staying informed about sensor technology advancements can help you optimize your device’s performance and calibration process. Regularly reviewing user feedback can also provide insights into common issues and effective troubleshooting steps. Being aware of latest calibration techniques may further enhance your device’s accuracy over time.
Resetting Your Tracker to Factory Settings

If your tracker isn’t functioning correctly after the basic check, resetting it to factory settings can resolve lingering issues and restore default configurations. This process is especially helpful after software updates or a battery replacement, which can sometimes cause glitches. To reset, locate the reset option in your device menu or press a specific combination of buttons, depending on your tracker model. Keep in mind, resetting clears all customized settings and data. Before proceeding, ensure your battery is fully charged to avoid interruptions. Remember:
- Resetting can fix software glitches caused by updates
- It helps recalibrate the device after hardware changes
- You’ll need to re-enter personal settings afterward
- Consider backing up data if possible before resetting
- Proper calibration is essential for accurate device performance and reliable tracking
- Restoring your tracker to factory settings often enhances overall device reliability and ensures it functions as intended.
- Regular recalibration and software updates can further improve the tracker’s accuracy and longevity.
- Performing a reset periodically can help maintain overall tracking accuracy and prevent drifting over time.
- Incorporating a calibration process after resetting can further optimize the device’s precision.
Resetting restores your tracker’s stability and prepares it for accurate calibration.
Setting the Correct Personal Parameters
Make sure you enter your accurate height and weight to improve tracking precision. Adjust your activity level settings so the device reflects your typical exercise habits. Correct personal parameters help your tracker provide more reliable insights into your daily activity. Additionally, understanding Free Floating can offer entertainment inspiration if you want to stay motivated during your fitness journey.
Input Accurate Height and Weight
To guarantee your tracker provides precise data, it’s essential to input your correct height and weight during setup. Accurate height entry and weight measurement ensure the device accurately calculates calories burned and activity levels. When entering your height and weight, keep in mind:
- Use a reliable scale for weight measurement to avoid errors.
- Enter your height exactly as measured, avoiding rough estimates.
- Update your weight regularly to reflect changes over time.
- Double-check your entries for accuracy before saving.
Properly inputting these personal parameters helps the tracker calibrate correctly, improving overall data reliability. Remember, even small inaccuracies in height entry or weight measurement can lead to significant deviations in your activity and health stats, so take your time to input precise information.
Adjust Activity Level Settings
Adjusting your activity level settings is crucial because it directly influences how your tracker estimates calorie burn and overall activity intensity. When you set the correct level, your device provides more accurate feedback, boosting your exercise motivation by showing real progress. Proper settings also enhance sleep tracking accuracy, as activity levels impact sleep quality insights. If your tracker underestimates activity, you might feel less motivated; overestimating can lead to frustration. Take time to input your true activity level—sedentary, lightly active, or very active—based on your daily routine. Regularly reassess these settings, especially after changes in your workout habits or lifestyle. Accurate activity level calibration creates a more reliable picture of your health, helping you stay motivated and better understand your sleep patterns.
Conducting a Standardized Test Activity

Before beginning the calibration process, you need to make certain that the test activity is standardized to produce consistent and reliable results. Proper sensor placement ensures the tracker receives accurate signals, so position it consistently on the same body part each time. Data synchronization is crucial; make sure your device’s clock matches the activity’s timing to align data accurately. To maintain consistency, consider these points:
Ensure consistent sensor placement and accurate timing for reliable calibration results.
- Use the same location and orientation for sensor placement
- Perform the activity in a controlled environment
- Follow a fixed pace or duration each time
- Record the start and end times precisely
Adjusting Calibration Settings Manually
To manually adjust your tracker’s calibration settings, you first need to access calibration mode. Once there, you can fine-tune the settings to match your specific activity or environment. This process helps guarantee your tracker provides accurate and reliable data.
Accessing Calibration Mode
Are you unsure how to access the calibration mode on your non-wearable tracker? First, guarantee the device is powered on and properly placed, as sensor placement affects calibration accuracy. Typically, calibration mode is accessed through the device menu or a specific button combo—check your manual. Be mindful that entering calibration mode might temporarily drain your battery, so guarantee it’s sufficiently charged. To help you get started:
- Verify correct sensor placement before calibration
- Follow on-screen prompts carefully
- Avoid interrupting the process to prevent inaccurate readings
- Remember, calibration may reset after device updates or resets
Accessing this mode allows you to manually adjust settings, improving accuracy without sacrificing battery life. Proper calibration ensures your tracker delivers reliable data, especially when sensor placement isn’t optimal.
Fine-tuning Calibration Settings
Once you’ve accessed the calibration mode, you can begin fine-tuning the settings to improve your device’s accuracy. Start by adjusting sensor placement if needed; proper positioning ensures more reliable readings. Keep in mind that frequent recalibration or manual tweaks can impact battery life, so find a balance that maintains accuracy without draining the battery quickly. Use the calibration options to refine sensor sensitivity and respond to any inconsistencies in your data. Make small adjustments and test results after each change. Consistent sensor placement and mindful calibration help your tracker deliver more precise information over time. Remember, well-maintained settings improve accuracy while preserving battery life, giving you better overall device performance.
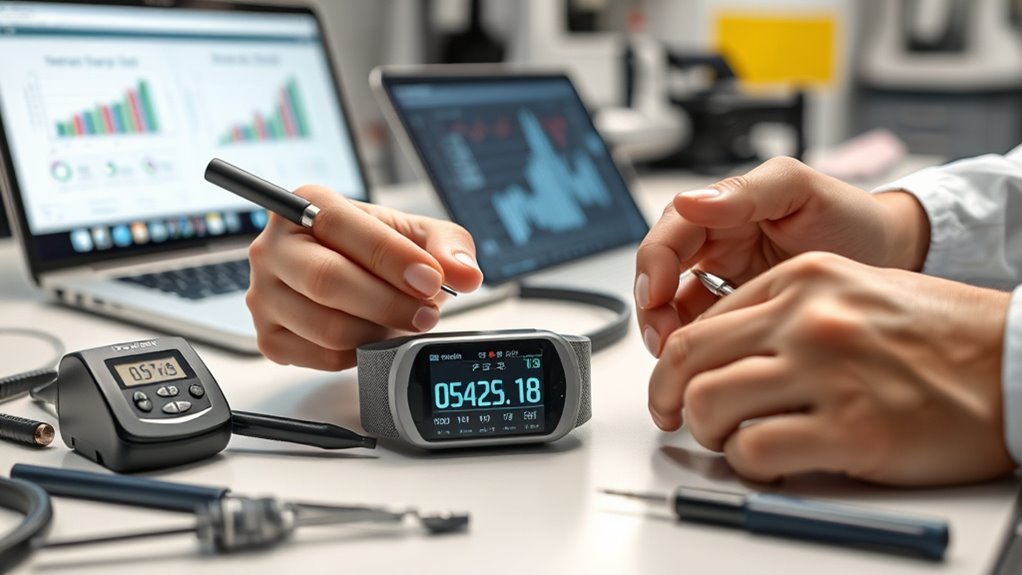
Verifying Accuracy With Known Benchmarks
Verifying the accuracy of your non-wearable tracker involves comparing its readings against known benchmarks to guarantee reliability. Proper sensor placement ensures that data collected reflects true activity, minimizing errors caused by misalignment. Consistent data synchronization between your tracker and benchmark sources confirms that measurements align correctly over time. To validate accuracy, consider these points:
Ensure your non-wearable tracker’s accuracy with proper placement and consistent benchmarking methods.
- Use standardized benchmarks like calibrated equipment or controlled tests
- Ensure sensors are placed consistently for comparable readings
- Cross-check data with trusted sources to identify discrepancies
- Repeat tests to confirm stability and reliability
This process helps identify calibration issues early and improves measurement confidence. Accurate benchmarking means your tracker’s data is trustworthy, supporting better analysis and decision-making.
Maintaining Calibration Over Time

To guarantee your non-wearable tracker remains accurate over time, regular calibration checks are essential. Over months, sensor placement can shift, and data synchronization may drift, causing inaccuracies. To prevent this, revisit calibration periodically, ensuring sensors stay correctly positioned and data aligns with benchmarks. Proper sensor placement maintains measurement consistency, while regular data synchronization confirms your tracker reflects true activity levels.
| Keep Sensors in Place | Sync Data Frequently |
|---|---|
| Prevent drift | Ensure accuracy over time |
| Confirm stability | Avoid calibration errors |
Consistent maintenance preserves your device’s reliability and your trust in the data it provides. Staying attentive to sensor placement and synchronization keeps your tracker precise, empowering you to make informed decisions daily.
Frequently Asked Questions
How Often Should I Recalibrate My Non-Wearable Tracker?
You should recalibrate your non-wearable tracker every few months or if you notice inconsistent data. Follow your device’s calibration schedule for maximum accuracy, and don’t forget user calibration tips like resetting settings or manually adjusting measurements when needed. Regular calibration ensures your tracker provides reliable insights, especially after software updates or changes in your activity level. Stay proactive to keep your data precise and meaningful.
Can Calibration Affect the Device’s Battery Life?
Calibration can affect your device’s battery life because it often requires additional sensor activity, increasing battery consumption. When you calibrate frequently, your tracker’s sensors work harder, which can drain the battery faster. However, proper calibration improves sensor precision, leading to more accurate readings. To balance battery life and accuracy, calibrate only when necessary, and avoid excessive recalibration. This way, you maintain ideal sensor performance without unnecessary battery drain.
What Are Common Signs That My Tracker Needs Recalibration?
You’ll notice your tracker needs recalibration if the sensor alignment seems off, like inconsistent step counts or inaccurate distance tracking. Also, if your device’s data feels inconsistent despite regular use, it’s time for a firmware update to improve sensor accuracy. Regular checks on these signs help ensure your tracker stays precise, and recalibration can rectify any misalignments, keeping your data trustworthy.
Is Professional Calibration Available for Advanced Devices?
Yes, professional calibration services are available for advanced devices. You can seek out specialists who follow strict calibration standards to guarantee your tracker’s accuracy. These services use precise tools and procedures, often necessary for high-end or medical-grade devices. By opting for professional calibration, you ensure your tracker maintains peak performance, providing reliable data for your needs. Always verify that the service provider adheres to recognized calibration standards for the best results.
How Does Environmental Temperature Impact Calibration Accuracy?
Temperature fluctuations can considerably impact calibration accuracy by affecting sensor sensitivity. For example, if you calibrate your tracker indoors at a stable temperature, moving it outdoors into cold weather may cause readings to drift. This happens because sensors respond differently in varying temperatures, reducing accuracy. To maintain precision, you should consider environmental temperature effects and recalibrate your device when temperature changes are substantial.
Conclusion
Calibration might seem simple, but neglecting it can lead to inaccurate data—your tracker’s primary purpose. While a quick reset or test can seem enough, consistent accuracy requires ongoing effort, just like fine-tuning a musical instrument. Remember, precision isn’t a one-time fix; it’s a continuous process. By staying vigilant and regularly verifying your device, you ensure reliable results—because even the best technology needs your attention to stay accurate.